

Lobby
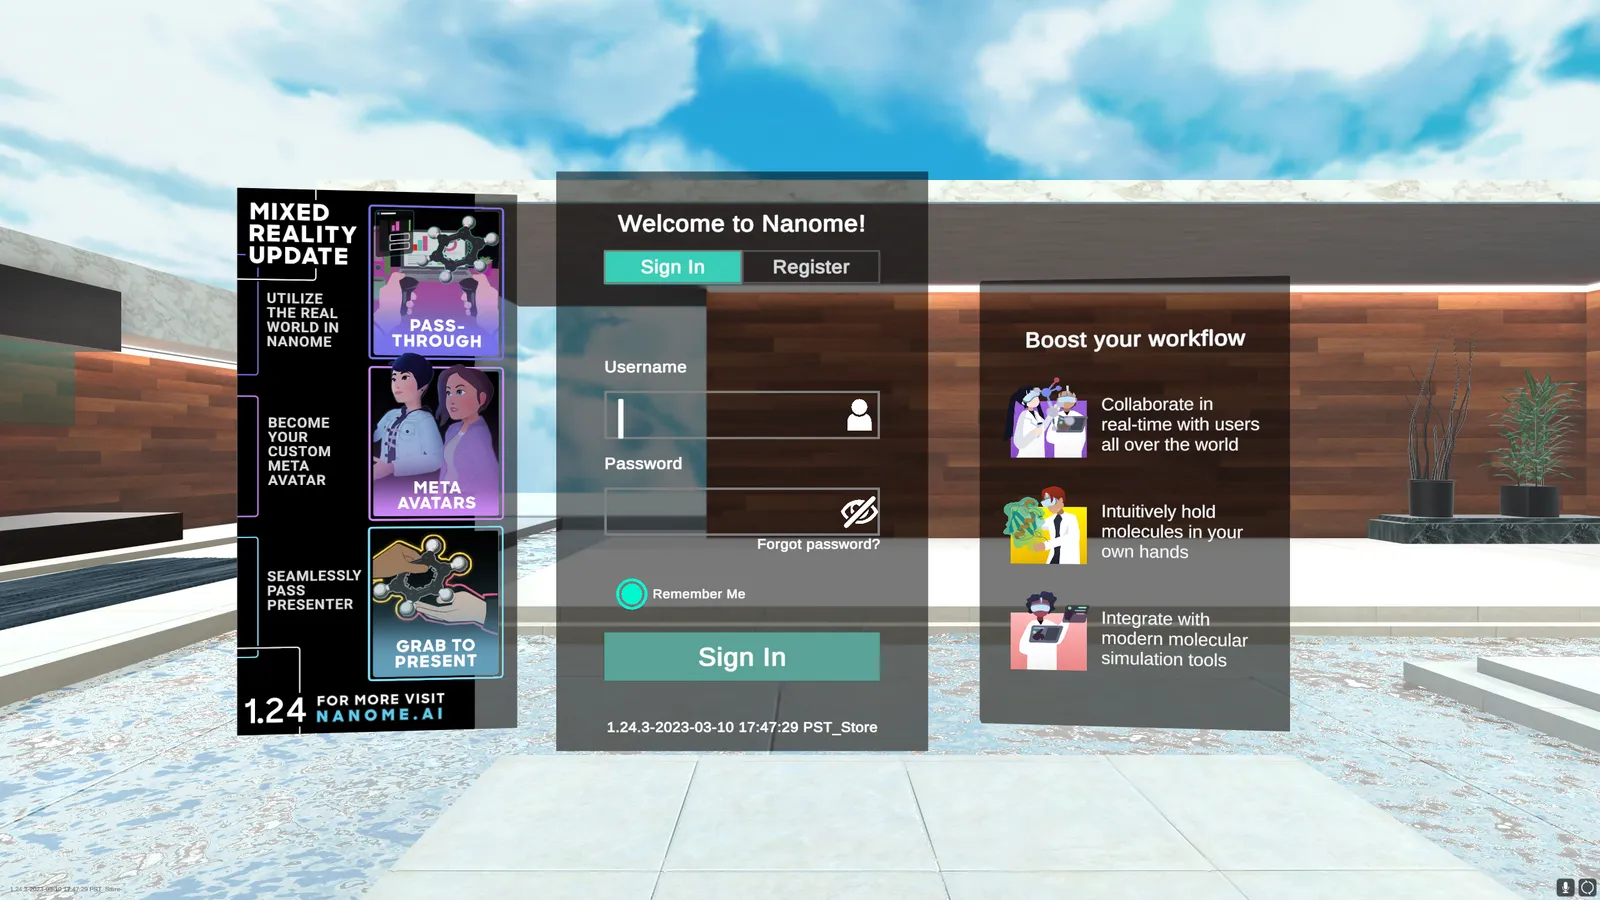
The Nanome Lobby is where users can sign into an account or sign up. By toggling the 'Remember Me' button, users can automatically be signed in the next time they start Nanome. Users can also start the Nanome Basics tutorial by selecting 'Start Tutorial'.
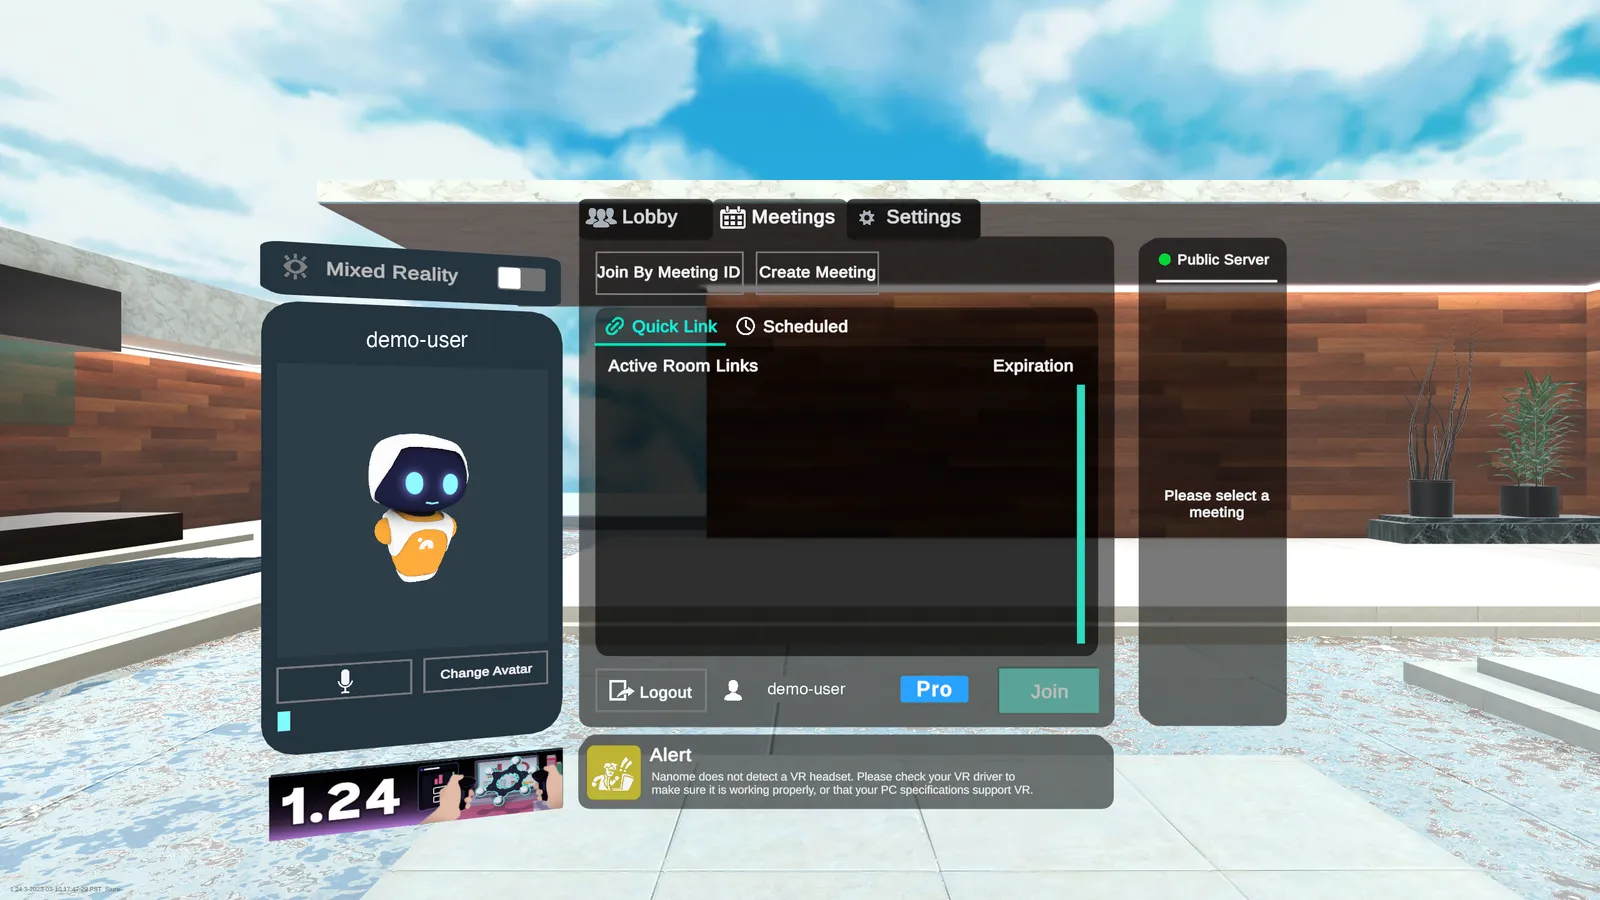
After signing in, the lobby looks like this (Meetings tab shown):
Update Banner
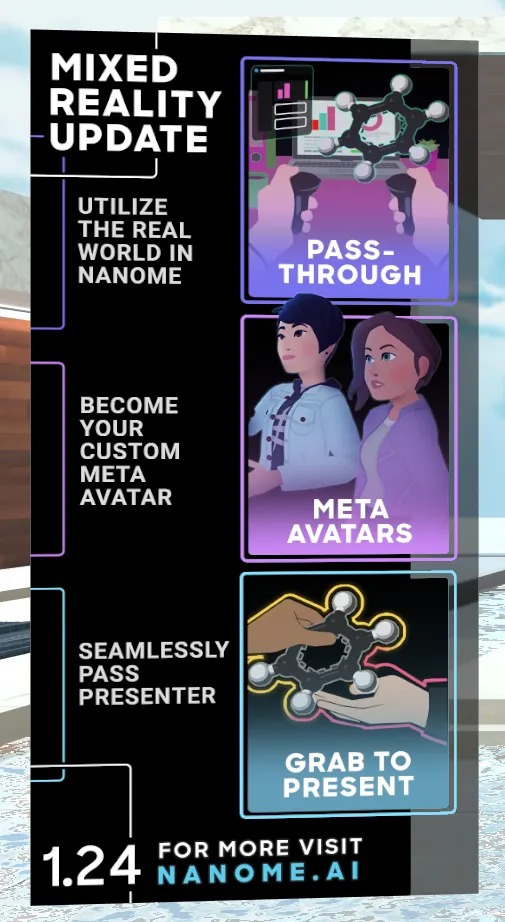
The update banner shows what's new in the version you're using.
Creating an Account
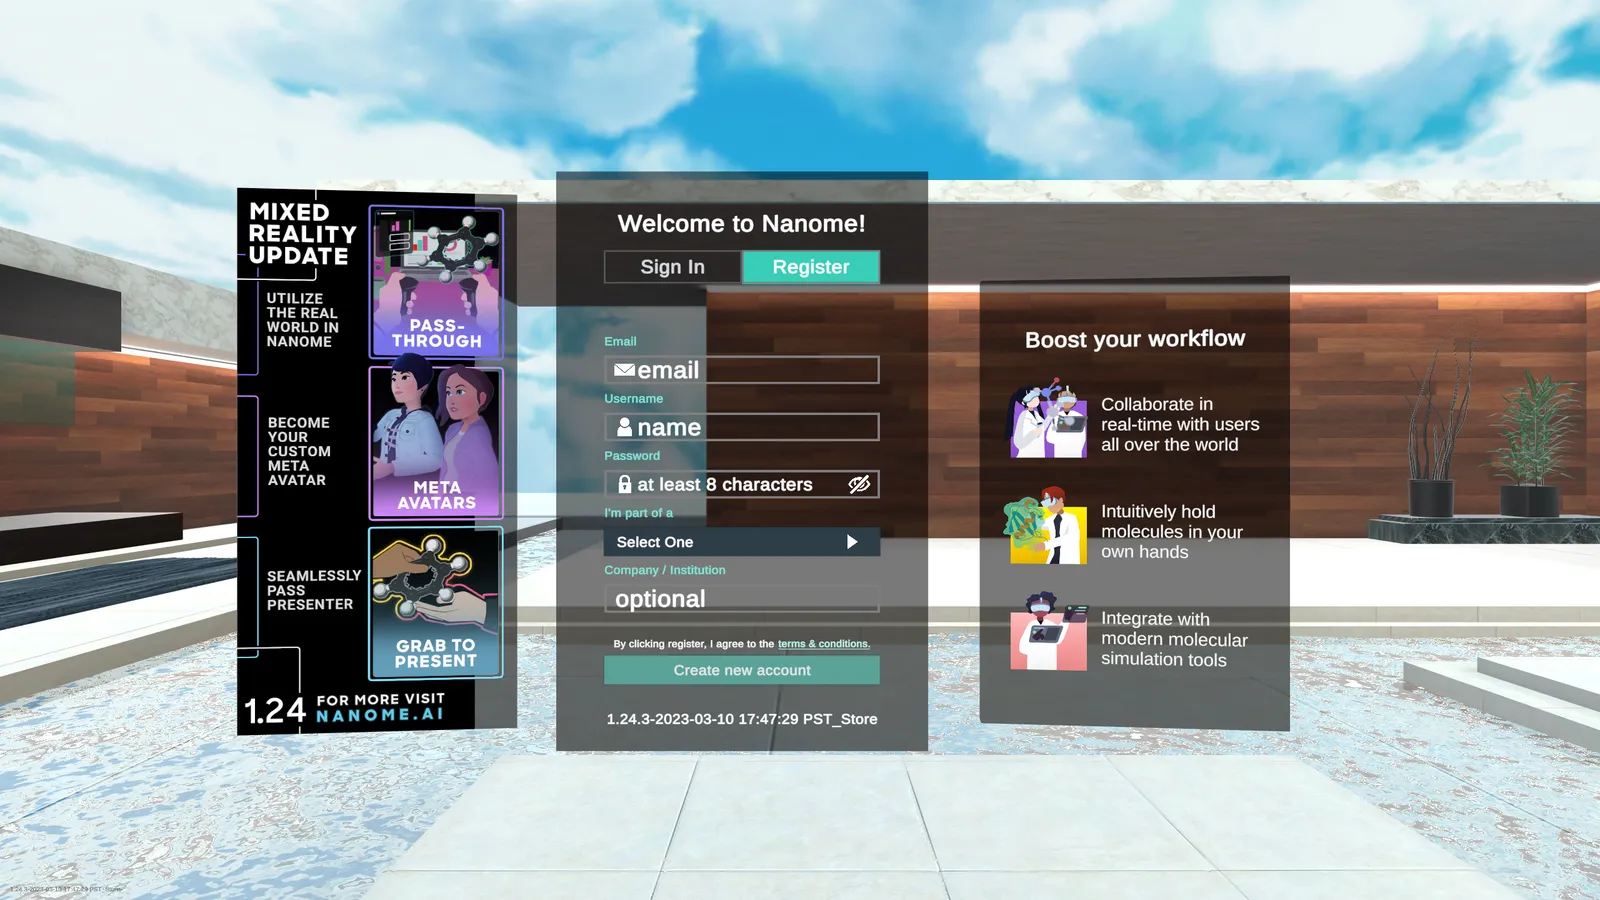
An email address is required to create a Nanome account.
Terms & Conditions: https://nanome.ai/terms/
Nanome Basics
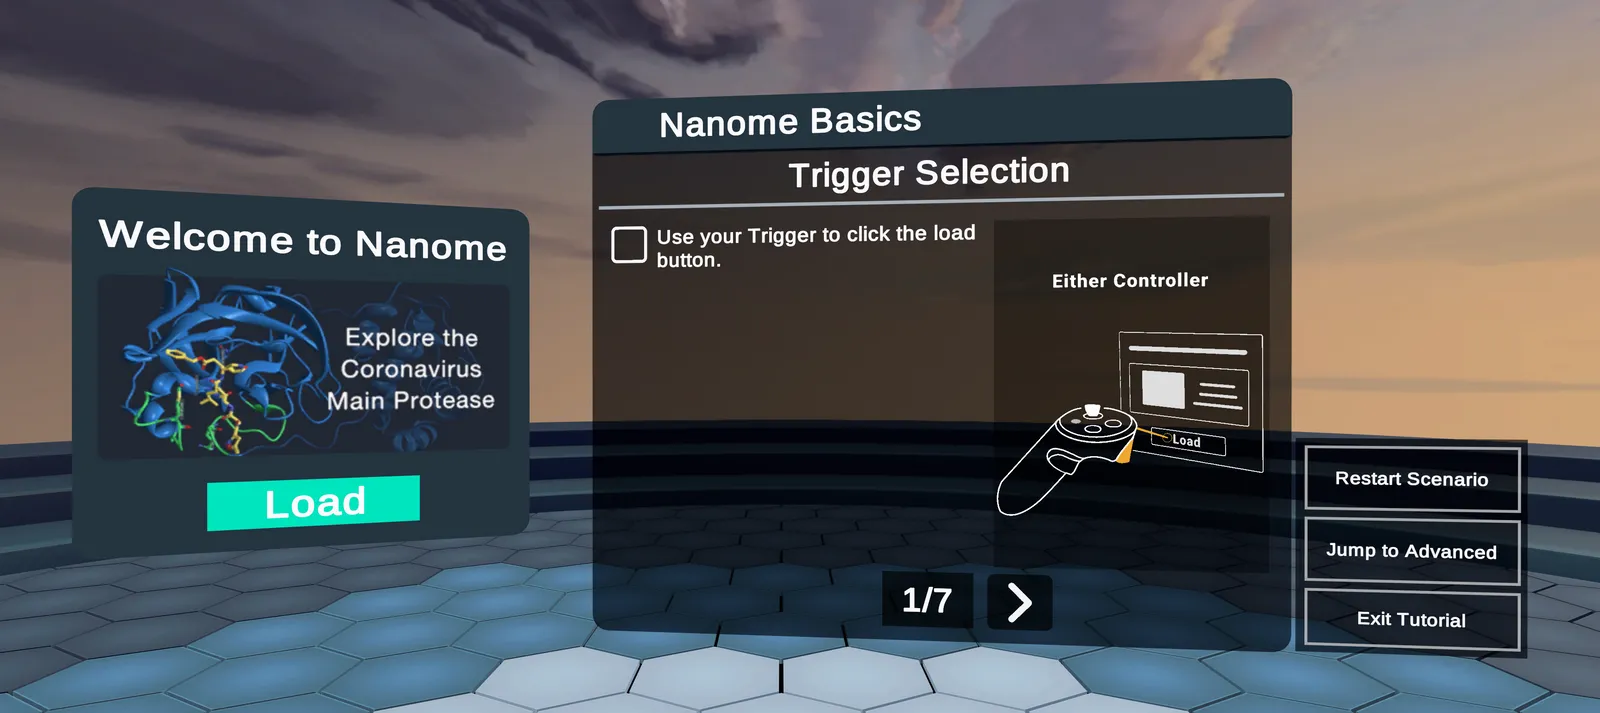
Nanome Basics is our introductory tutorial that gets the user acquainted with the Nanome virtual environment and controllers. The tutorial consists of 7 levels. The Level Panel and the narrated audio guide you through each level.
Navigating the Tutorial Using Level Panels
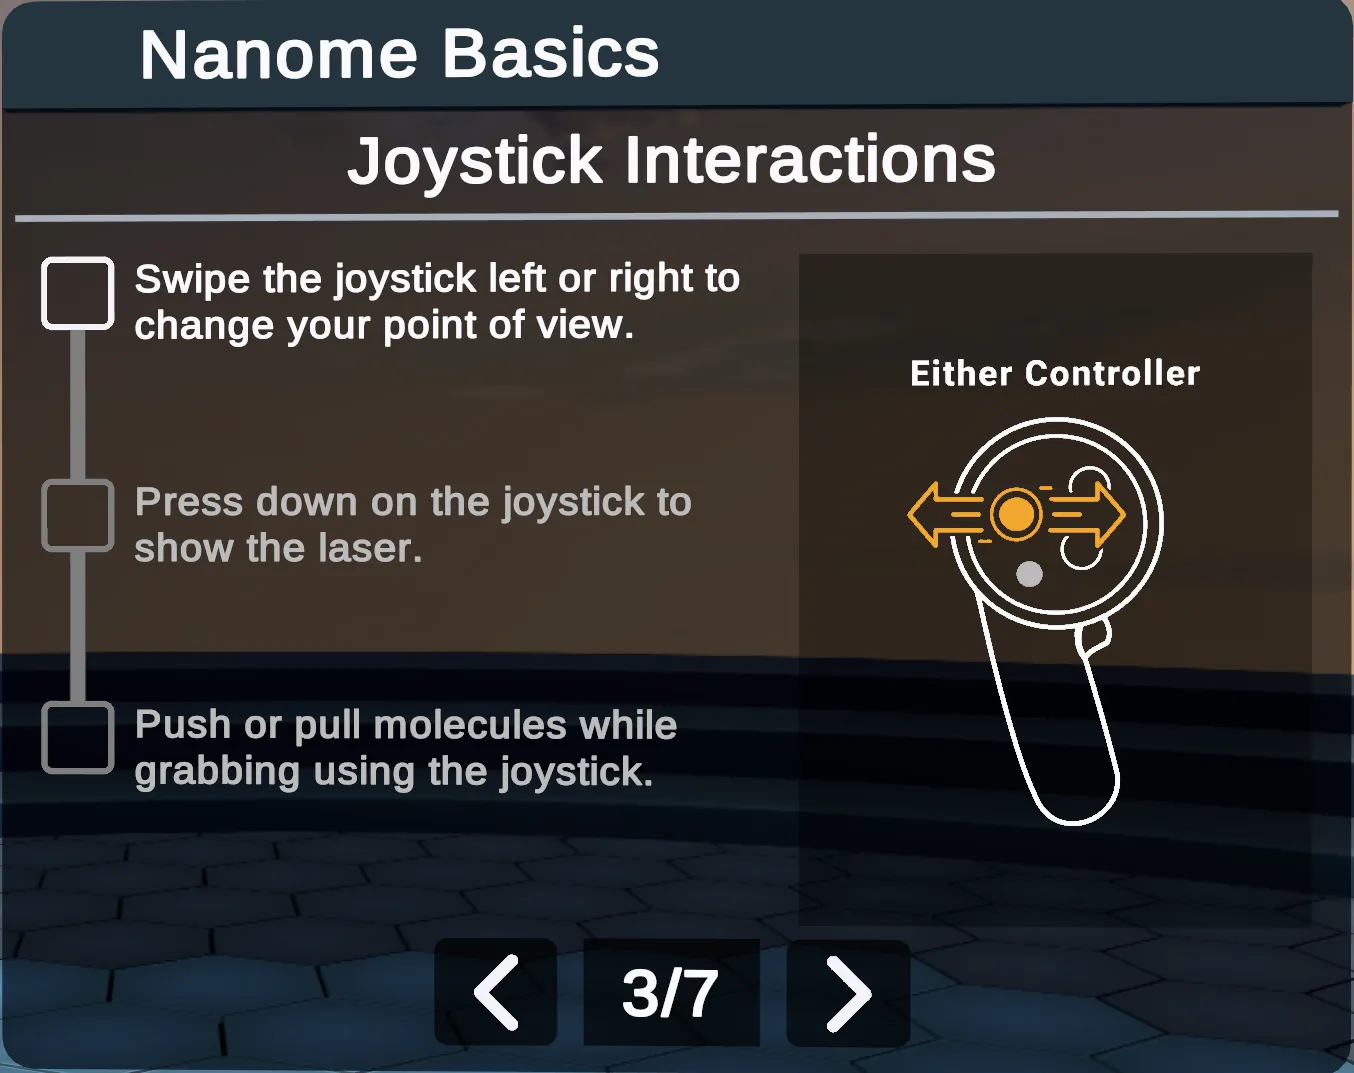
- Task checkboxesA checkmark will appear when each task is completed within a level panel.
- Back arrowVisits previous levels.
- Forward arrowSkips the current level.
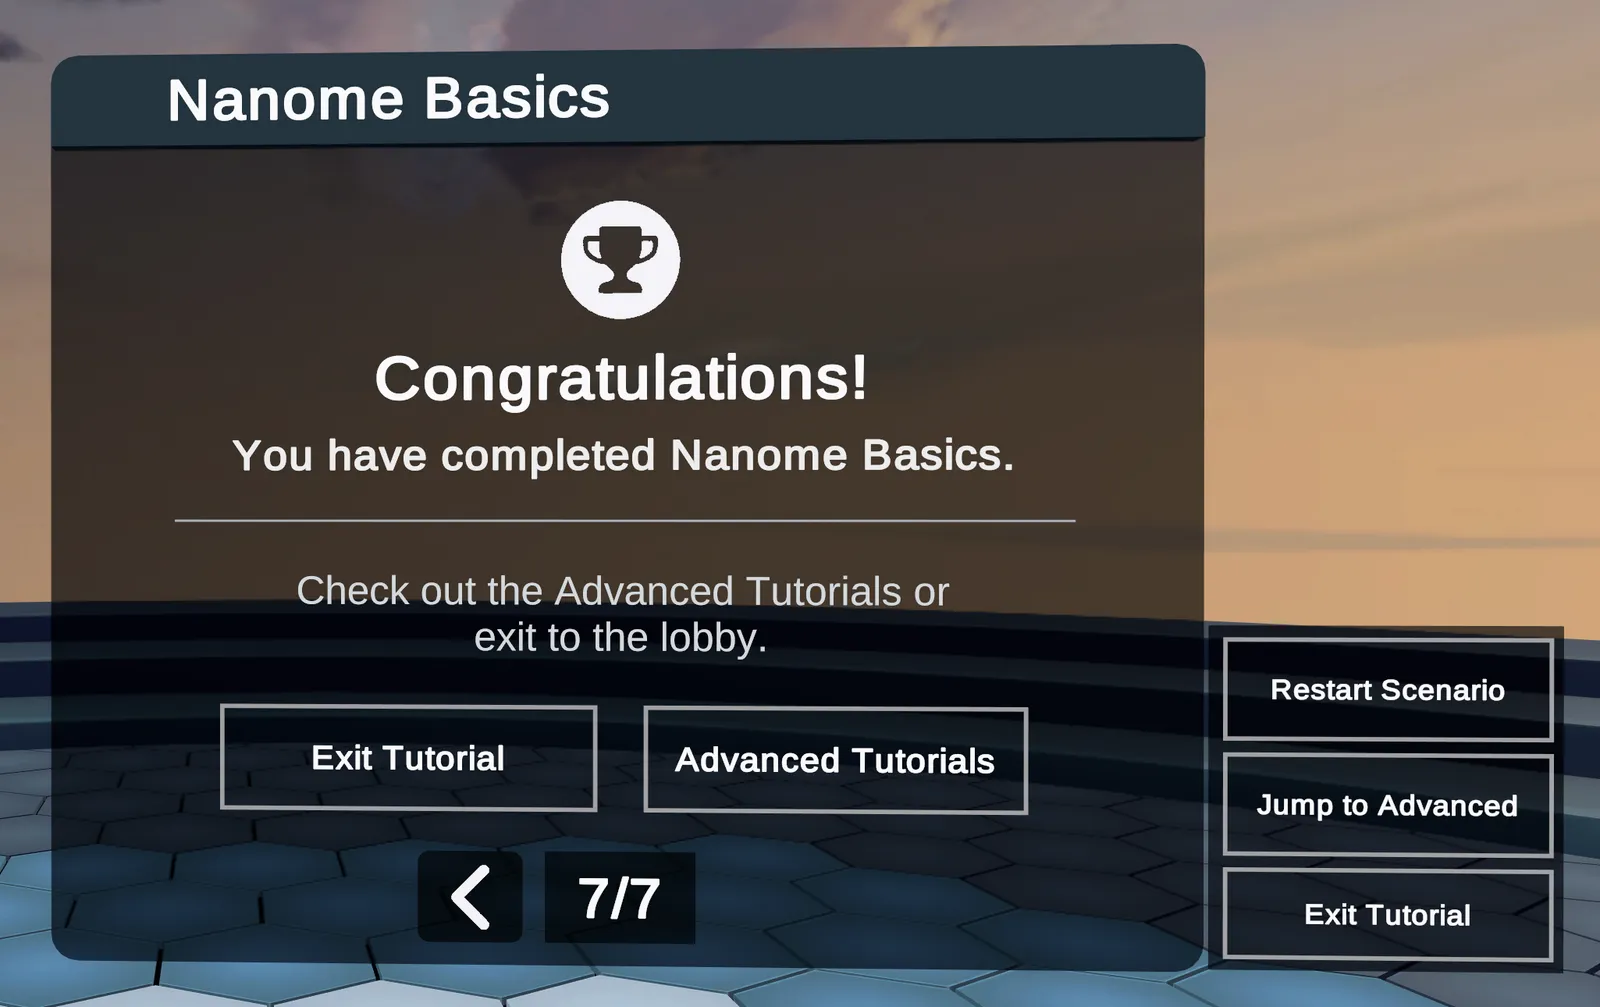
Once the Nanome Basics tutorial is completed, you can move onto Advanced Tutorials or you can exit the tutorial.
- Brings the user into a Nanome workspace and opens the Content Discovery menu.
- Returns to the Lobby.
Lobby Top Bar
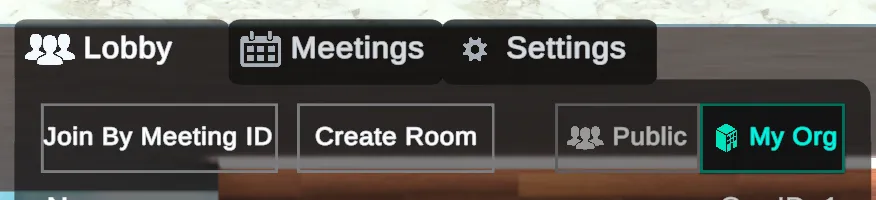
Join By Meeting ID
Users can join a scheduled meeting in Nanome by entering the Meeting ID provided by the room host. The Meetings page explains how to create one.
Creating a Room
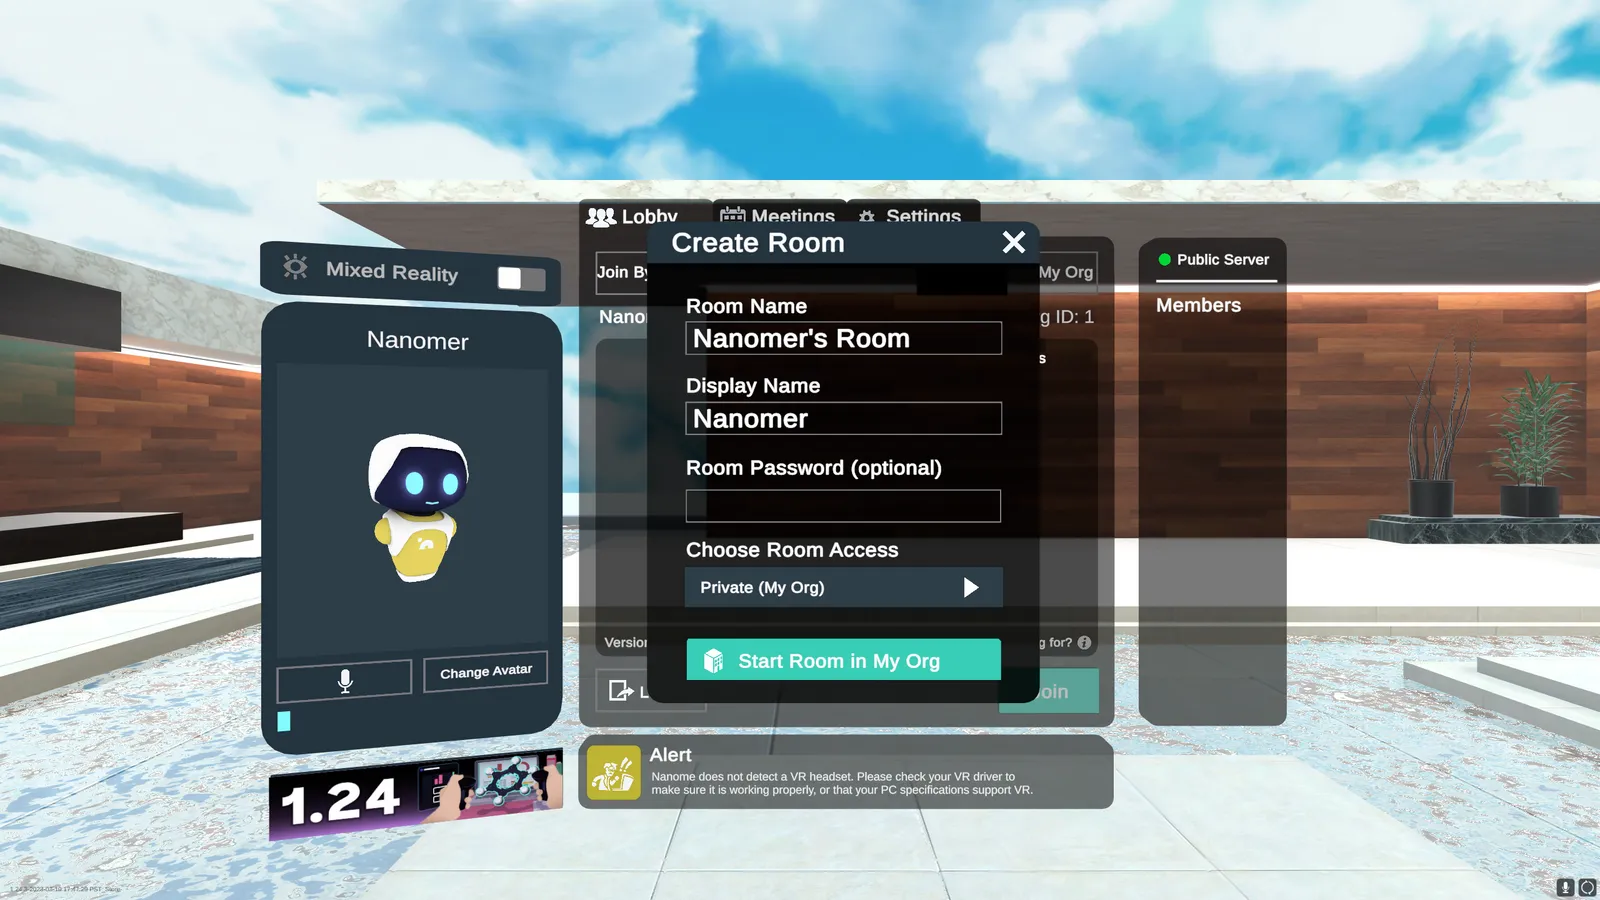
There are 3 Room Types a user can create depending on their Nanome License.
Room Types:
- Public Rooms: Anyone can join the room. Available to all Nanome licenses.
- Private Rooms (Private (My Org) under Choose Room Access): Only people in your organization can join. Available to Academic and Enterprise.
- Single User: Offline mode that no one else can join. Available to Academic and Enterprise.
Any room can also have an optional Room Password.
Public / My Org Server Selector
Indicates connection to Nanome Public Server or Custom Private Server.
Meetings
The Meetings tab is the central location for users to manage and join scheduled meetings. The lobby screenshot at the top of this page shows this tab.
Settings
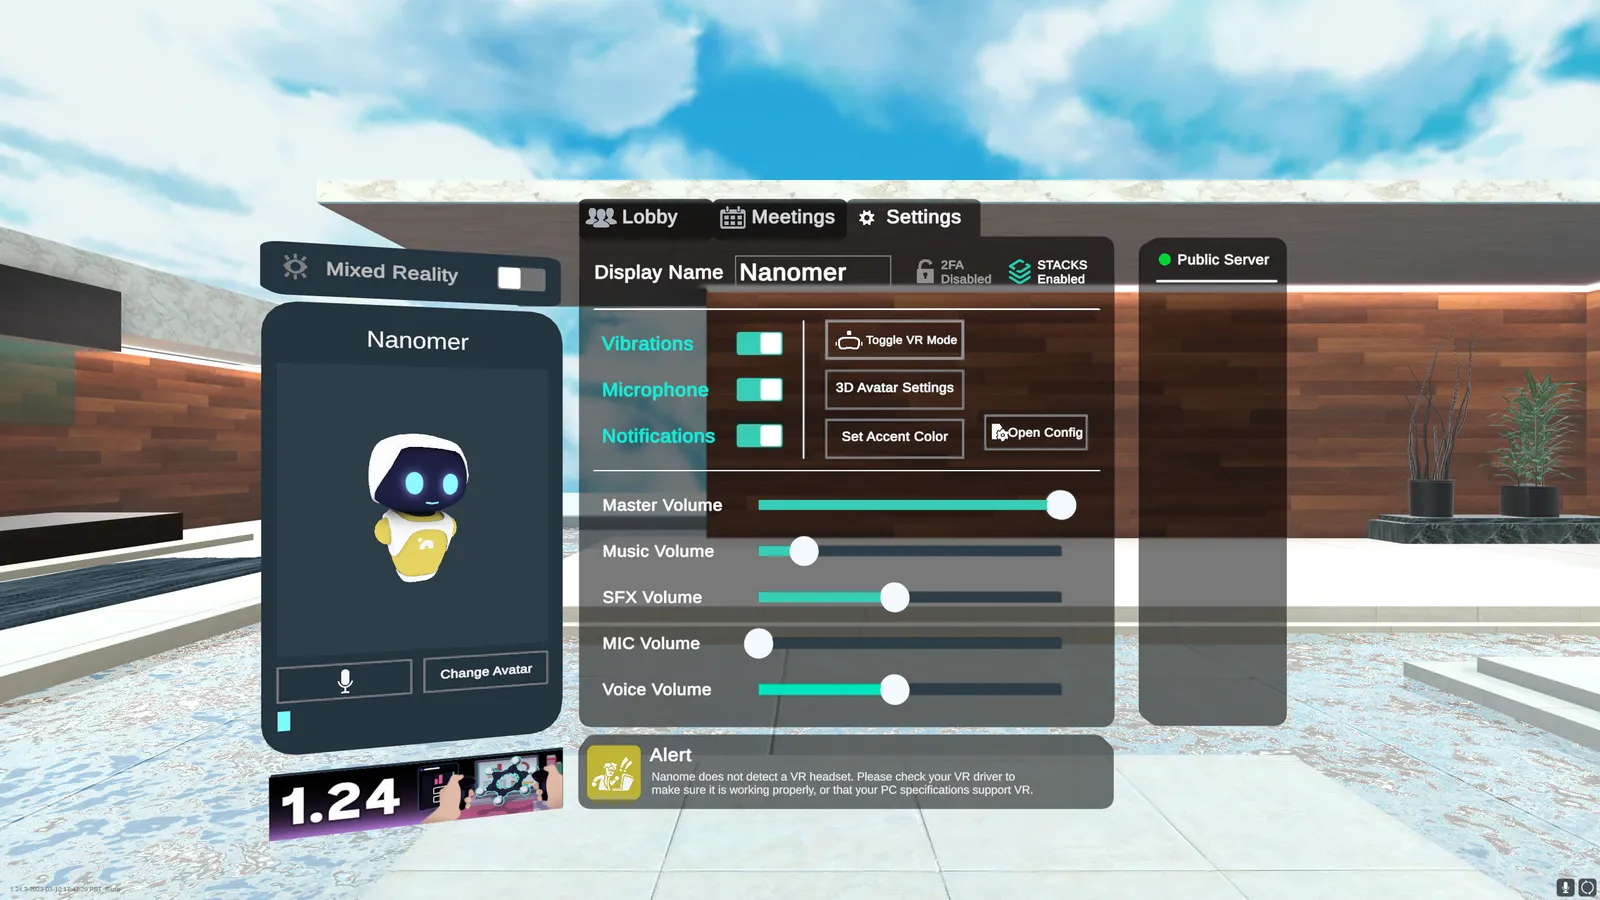
In the Settings tab, users can adjust various settings.
- Your display name, here Nanomer.
- Shows whether two-factor authentication is on. Disabled here.
- STACKSShows whether Stacks is on. Enabled here.
- Turns vibrations on or off.
- Turns the microphone on or off.
- Turns notifications on or off.
- Turns VR mode on or off.
- Opens the 3D avatar settings.
- Sets your accent color.
- The Configuration button. Opens the Configuration Viewer, below.
- Master, Music, SFX, MIC and Voice volume.
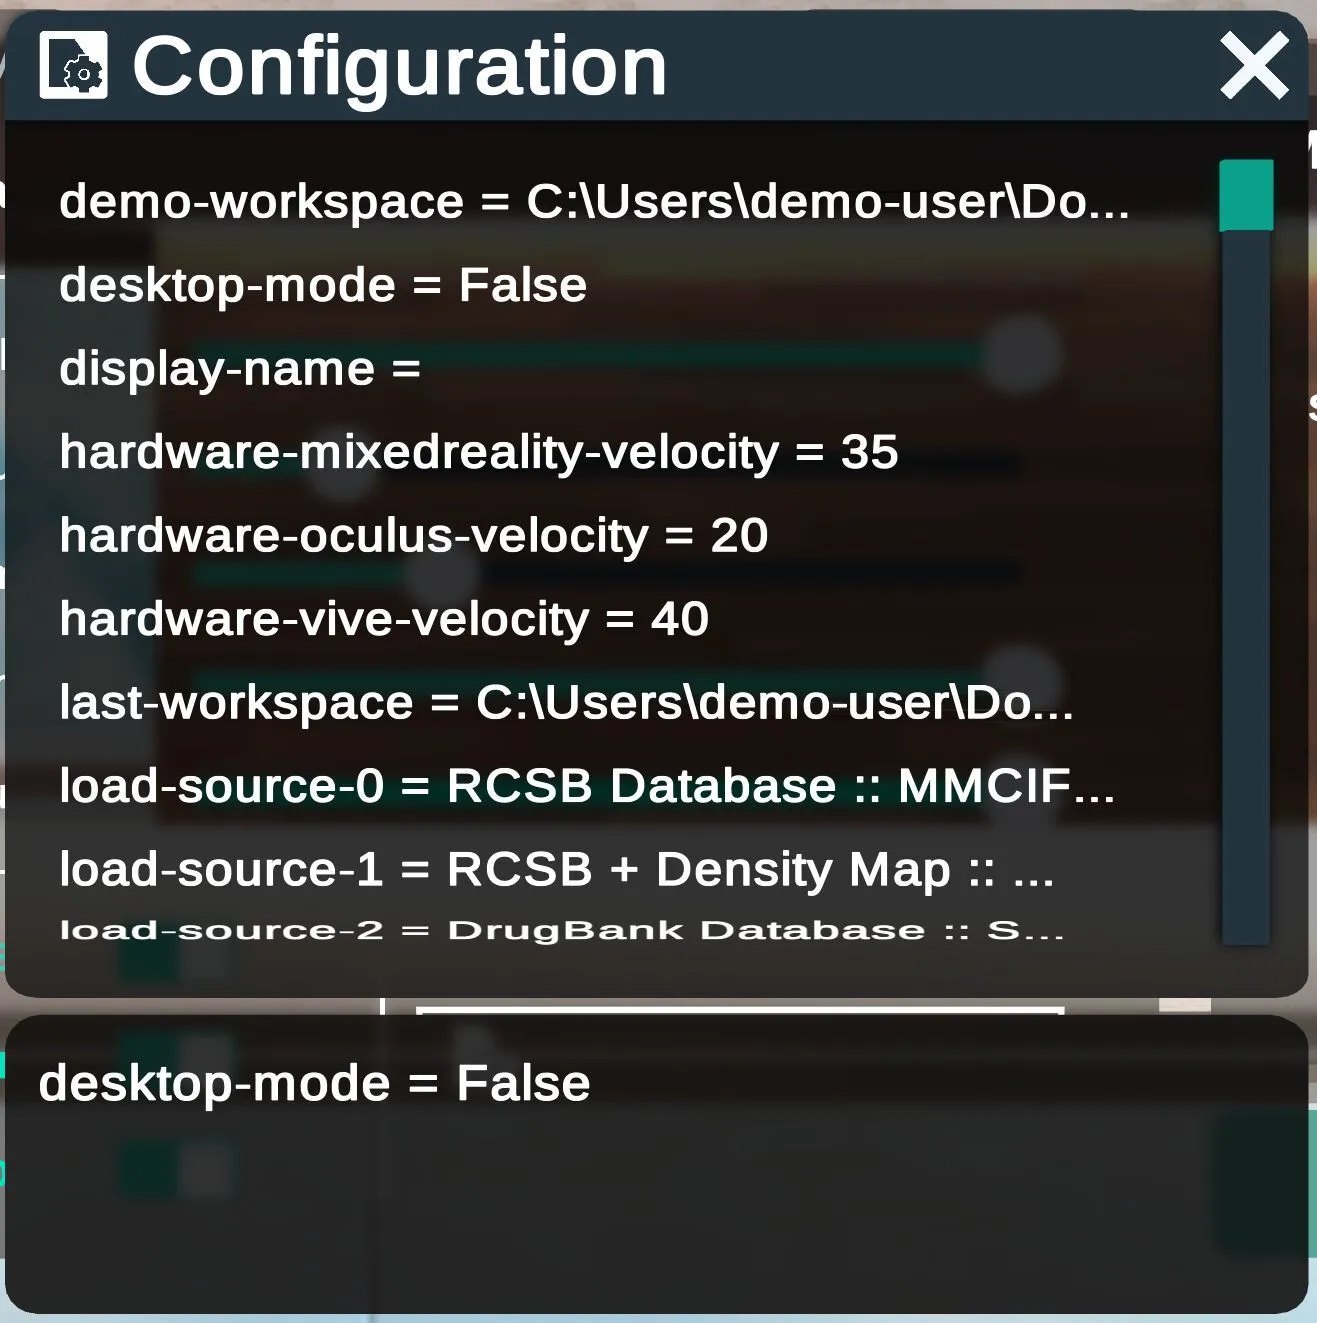
Configuration Viewer
By selecting the Configuration button in the Settings tab, users can view the Nanome Configuration file, which contains additional settings that cannot be controlled directly from within the app. The Configuration file also has Presenter Setup Options, which let the presenter manage guests who join their room. The Configuration file can be located in the same directory as the app build directory.
Lobby Left Window
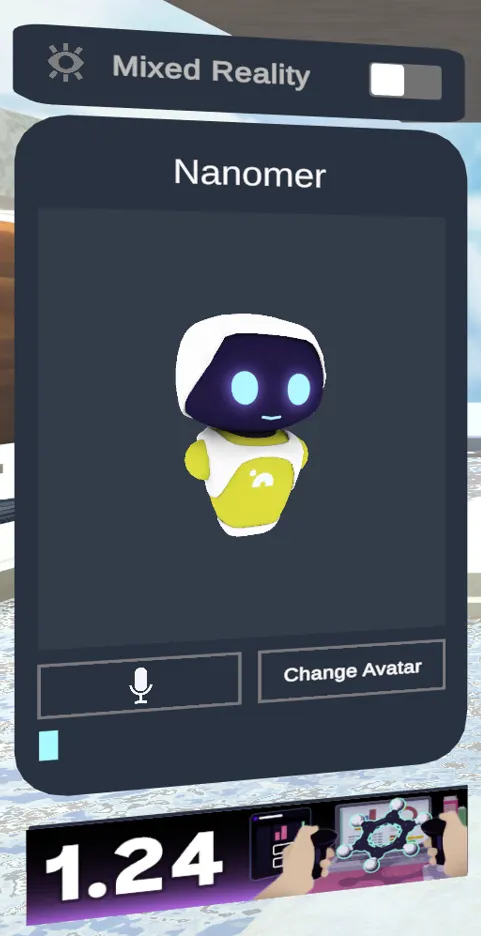
The left window in the lobby offers a quick way to make changes to how you interact with Nanome and other users.
- Mixed Reality ToggleEnables Mixed Reality on supported headsets.
- User PreviewIn this window, you'll see a preview of how you'll appear to others in a Nanome room.
- Mute Button and Voice IndicatorAbility to see your microphone levels at a glance, and mute your microphone while in the lobby.
- Ability to change how you appear to yourself and others in a Nanome room.
The Hardware Matrix lists which headsets support Mixed Reality.